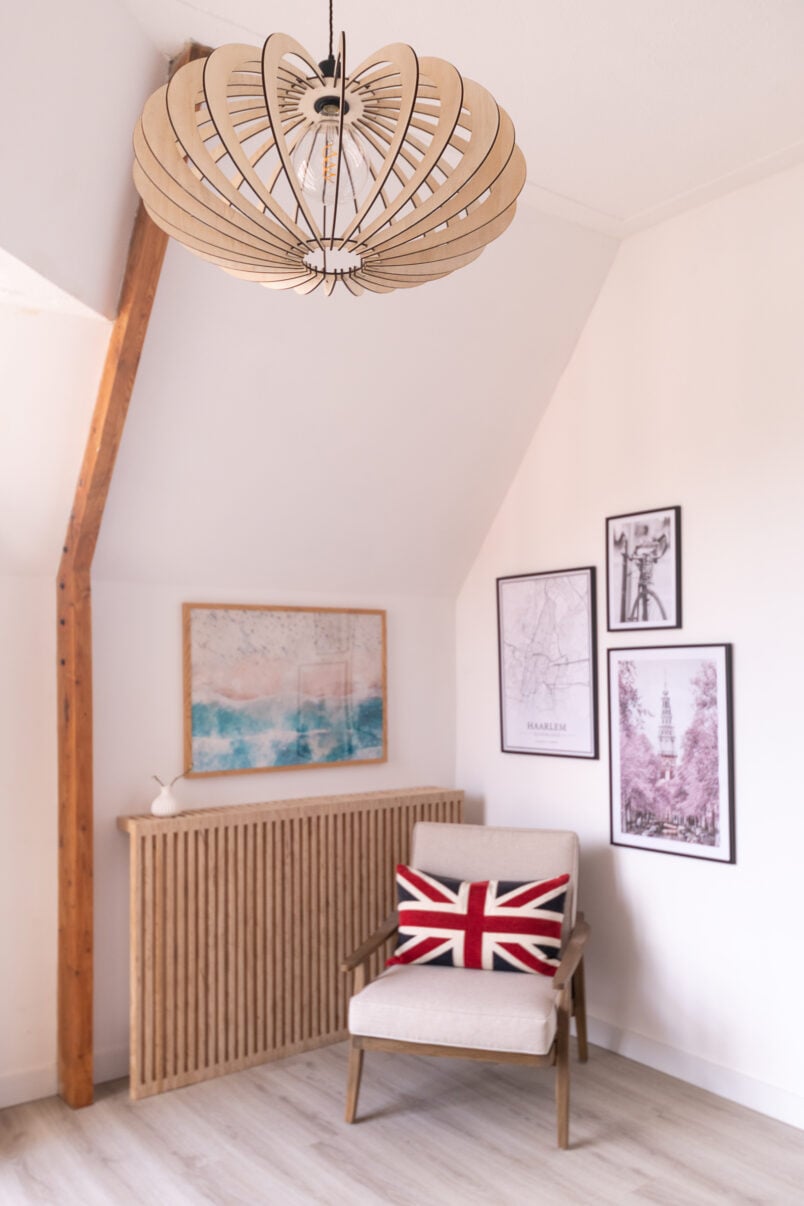
While most of our house is still in complete disarray, with peeling wallpaper, flaking paint and bare lightbulbs dangling from the ceiling, one room is further along than the others and now even has a gorgeous new DIY lampshade.
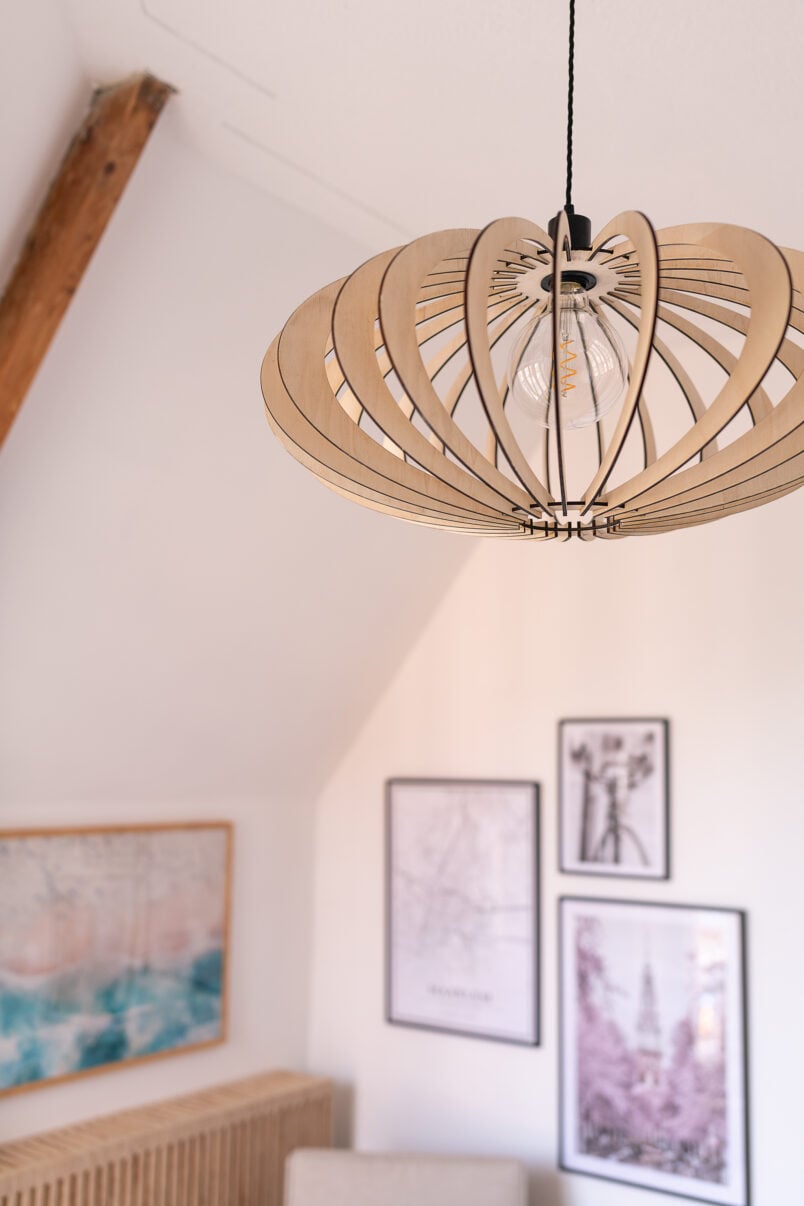
Would you have guessed that we made this DIY plywood lampshade ourselves?
We love how this modern Scandinavian-style DIY wooden lampshade turned out and think it looks fantastic in our little corner room. Our DIY lampshade may look like something you could find in a design shop, but it was actually very easy to make and only took a few minutes to assemble.
We’re sharing the free plans so you can make your own DIY plywood lampshade, too!

This is what you will need to make this DIY plywood lampshade:
- 4mm thick plywood sheets
- Light fitting & lightbulb (we bought ours here)
- Laser cutter
- Lampshade template (get it for free below)
How to make a DIY plywood lampshade:
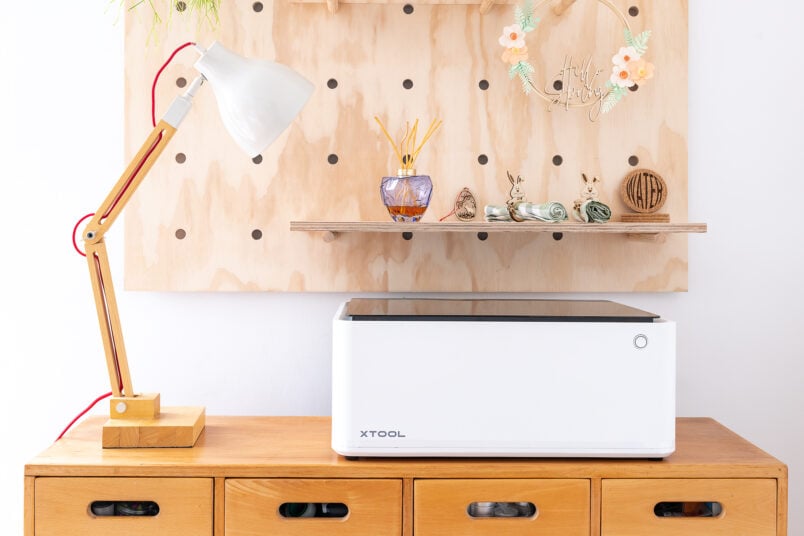
Making this lampshade really couldn’t be easier. We used our laser cutter and engraver to cut the plywood.
It’s quickly becoming one of our favourite tools for crafting. If you like making things, you won’t want to miss our review of the laser cutter we have.
If you don’t have a laser cutter, there are companies that laser-cut wood for you. Alternatively, you could use a jigsaw to cut out the pieces. It’ll be more difficult to get a precise fit, though.
Step 1
Download The Template
Start by downloading the template to make this DIY lampshade. We designed it to be the maximum size we could cut with the laser cutter. The overall size of the assembled laser cut plywood lampshade is about 63 cm.
Step 2
Cut The Plywood
Drag the file into the software and let the laser do all the work. You need one top and one bottom ring as well as 12 curved pieces.

Step 3
Assemble The Plywood Lampshade
Once all the pieces have been cut, it’s just a matter of slotting them together.

The top centre piece of the lampshade has a smaller hole to fit over your light fitting. The bottom lamp base piece has a larger opening to reach into and fit a light bulb.

The lampshade is a bit wobbly at first, and we found it easiest to insert a piece on each side to balance it before filling the remaining slots with the curved pieces.
We didn’t find it necessary to glue the pieces in place and love that it can easily be disassembled in case we ever move. Of course, you can glue the pieces in place if you prefer.
We love this DIY wooden lampshade so much. It was so easy to build and looks fantastic with our plywood slatted radiator cover. Lamps and lampshades can be expensive, and this is a great, budget-friendly way to create something bespoke for your home.
It turned out so well that I’m already working on another design for a laser cut chandelier that I can’t wait to share.


Leave a Reply